DEVELOPER GUIDE
Developer quick start
Connect your app or assistant and make a read-only request first.
Before you connect
You need active Crickets+ and the API/MCP add-on. Either can be paid or complimentary. Plus alone does not include developer access. Review plans and billing.
API tokens and authorized MCP clients have full access to supported operations in your account. Account settings, billing, platform connections and Administration remain browser-only controls.
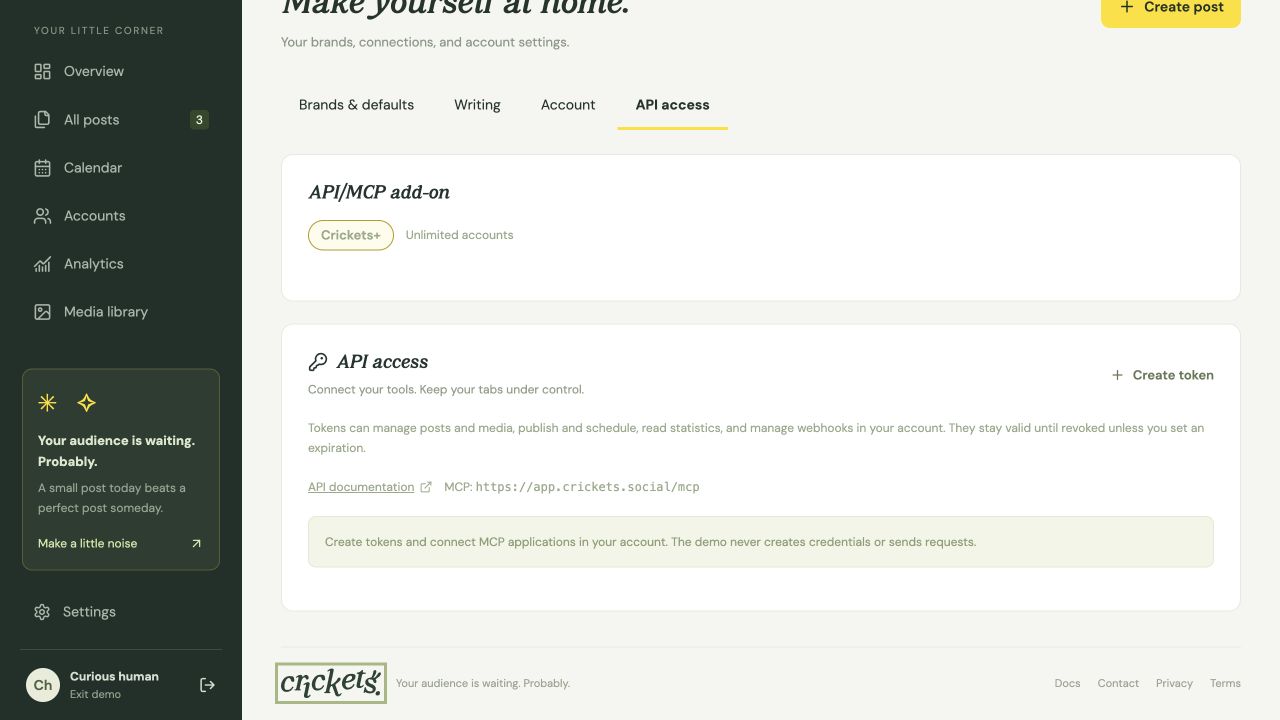
Choose your connection
| Connection | Use it for | Next guide |
|---|---|---|
| REST + API token | Your application, scripts or service. Send the secret in an Authorization header. | Create a token |
| MCP + browser OAuth | An assistant/client supporting remote Streamable HTTP and browser authorization. | Connect MCP |
| MCP + API token | A client supporting custom Authorization headers. | Use a bearer token with MCP |
Start with a read
Check your identity before changing anything. For REST, create a token and store it in CRICKETS_API_TOKEN in your environment or secret manager. This request only reads your identity:
curl 'https://app.crickets.social/api/v1/me' \
  -H "Authorization: Bearer $CRICKETS_API_TOKEN"
Next, call list_workspaces in MCP or GET /workspaces in REST to get your workspace_id. Use that returned ID when listing accounts and capabilities.
Use the returned IDs exactly. Creating a post saves a draft. Publishing requires a separate action.
Continue with the REST reference, MCP tools, media uploads, or signed webhooks.
Something unclear? Tell us what would help.